Monday, March 14, 2011
Sunday, March 13, 2011
Hardcore
ARTIST: Artwork © Keith Garvey.
In order to use the image in this tutorial you MUST purchase it from PTE
SCRAPKIT: Unplugged by Missy of Scraps with Attitude
TEMPLATE: CMC_CollabKatChichi_2
FONT: Qwigley
Okay lets begin
Open your template
CTRL-D to duplicate
Close the original
Delete the copyright layer
Select your bottom layer
Open your paper of choice
Edit - copy
Close the paper
Select all, float, defloat
New raster layer
Paste into selection
Delete the original layer
do the same with the rest of the layers.
The elements I used for tag are listed below
Resize them appropriately, usually about 50%
Just Copy and paste them as a new layer
See my tag for placement
Add drop shadows
SWA_Unplugged43
SWA_Unplugged7
SWA_Unplugged13
SWA_Unplugged14
SWA_Unplugged41
SWA_Unplugged48
SWA_Unplugged49
Add your tube
Add your copyright and text
Merge visible and your done
Thursday, October 28, 2010
What the Ween?

ARTWORK: Artist © Elias Chatzoudis
In order to use the image in this tutorial you MUST purchase it from MPT
SCRAPKIT: Missy of Scraps with Attitude
TEMPLATE: Pbs-Template79
FONT: Venus Rising
Okay lets begin
Open your template
CTRL-D to duplicate
Close the original
Delete the copyright layer
Select your bottom layer
Open your paper of choice
Edit - copy
Close the paper
Select all, float, defloat
New raster layer
Paste into selection
Delete the original layer
do the same with the rest of the layers.
The elements I used for tag are listed below
Resize them appropriately, usually about 50%
Just Copy and paste them as a new layer
See my tag for placement
Add drop shadows
SWA_HPElement56
SWA_HPElement7
SWA_HPElement47
Add your tube
Add your copyright and text
Merge visible and your done
Wednesday, September 29, 2010
Crush

ARTIST: Artwork © Keith Garvey.
In order to use the image in this tutorial you MUST purchase it from MPT
SCRAPKIT: Crush by Missy of Scraps with Attitude
MASK: WSL_Mask84
FONT: PFChampionScriptPro
Okay lets begin
New image 600 x 600
Open Crush_Paper3
Copy and close
New raster layer
Select all
Paste into selection
Apply your mask
Merge group
Open Crush_Frame2
Copy and close
Paste as new layer
The elements I used for tag are listed below
Resize them appropriately, usually about 50%
Just Copy and paste them as a new layer
See my tag for placement
Add drop shadows
Crush_Bubbles
Crush_ButterfliesSwirl
Crush_Butterfly1
Crush_CurlyRibbon1
Crush_Dice1
Crush_Flower
Crush_Flower2
Crush_Fruit
Add your tube
When you are done
Add your copyright and text
Merge visible and your done
Monday, March 29, 2010
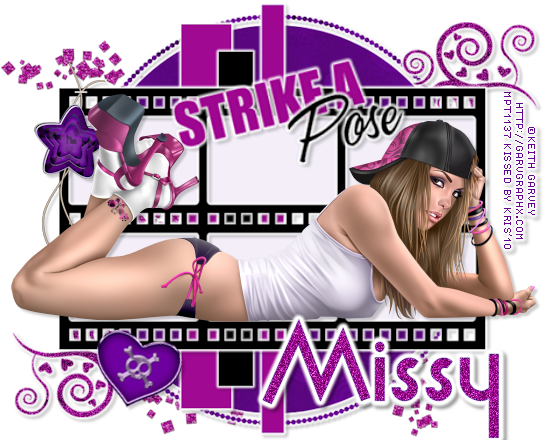
Strike a Pose
ARTIST: Artwork © Keith Garvey.
In order to use the image in this tutorial you MUST purchase it from MPT
SCRAPKIT: I Rock by Missy of Scraps with Attitude
TEMPLATE: Template #18
Open your template
Ctrl+D to duplicate
Delete the copyright layer
Activate the bottom layer
Open IRock_Paper5
Copy and close
New raster layer
Paste into selection
Delete the original gray layer
Do the same with the rest of the layers
I used IRock_Paper6 and IRock_Paper20
For the solid layers, I just picked a color from my tag and filled with that color
Add a light white gradient glow to all your layers.
Add a drop shadow to all your layers 3, 3, 20, 3, black
The elements I used for tag are listed below
Resize them appropriately, usually about 50%
Just Copy and paste them as a new layer
See my tag for placement
Add drop shadows
IRock_Star1
IRock_GlitterTrail3
IRock_Heart1
I also moved the wordart to the top to accomidate my tube
Add your tube and add a light drop shadow
When you are done
Add your copyright and text
Merge visible and your done
Sunday, September 13, 2009
Sexy Misfit
Artist © Martin Abel.
In order to use the image in this tutorial you MUST purchase it from CILM
SCRAPKIT: Bad Girlfriend by Missy
TEMPLATE: #31 by Melissaz Creationz
Okay lets begin...
Open your template
CTRL+D to duplicate
Close your original
Delete your copyright information
Select the bottom layer
Open paper of choice, copy and close
Select all float, defloat
New raster layer
Paste into selection
Do the same for the rest of the layers.
Add your elements, tube, and copyright information
Duplicate your tube layer
Move her beneath the boxes
Delete the part outside the boxes
Blend mode - hard light
Apply your gradient glows and/or drop shadows
Merge visible and your done.
Add your text
Thursday, August 6, 2009
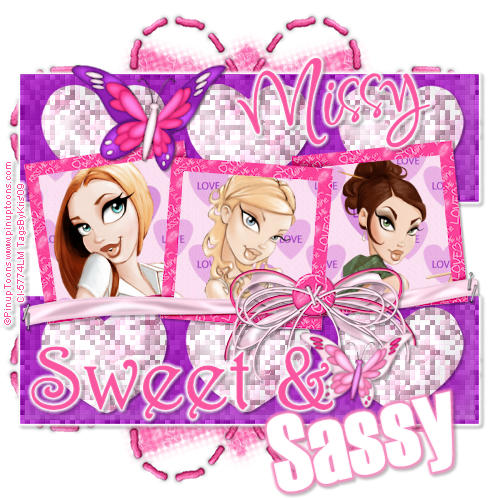
Sweet and Sassy Tutorial
SUPPLIES
TAG TEMPLATE: Template 22 by Simply Devilish Scrapz
KIT: Love Story by Missy
Artist © PinupToons.
In order to use the image in this tutorial you MUST purchase it from CILM
MASK: WSL180
Okay lets begin.
Open your template
CTRL+D to duplicate
Close your original
Delete the copyright layer
Resize 83%
Delete your heart layers
Activate your rectangle layers
Select all - float - defloat
New raster layer
Fill with ##a226ba
Invert and delete
delete your gray layer
Xero - Fritillary
Standard settings, maybe adjust the variation some.
Do the same with the hearts but with paper 1
Merge visible
Open paper 2
Copy and paste as new layer
Open Frame 1, resize by 13%
Copy and paste as new layer
Get your magic wand and select the inside of the frame
Expand by 5
Select your paper layer
Invert and delete
Add your tubes behind the frame now
Apply your mask of choice
Add your elements, text and copyright and your done :-)
Monday, April 20, 2009
Caffeine Junkie Tag
For this tutorial you will need
Caffeine Junkie kit by Missy
MASK: Of choice.
PRESET SHAPE: Heart Shape
Filters:
Johanna's Filters 2.0
Alien skin Xenofex 2
TUBE: Artist © Amanda Fontaine
Her art is no longer available but I purchased it from AMI
Place your preset shape heart into your preset shapes folder in your PSP files
New Image 500 x 500
Open frame 1
Resize your length to 450 pixels
Copy and paste as new layer
Move over some to the left
Duplicate and mirror
Open WSL_Mask17 or your mask of choice
Choose a paper, I chose paper3
Resize 500 x 500, copy and paste as new layer
Make sure your paper is underneath your frames
Layers-new mask layer- from image
Find WSL_Mask17 (or your mask) and press ok
Layers-Merge-Merge Group
Open Paper2, resize 500 x 500
Copy and paste as new layer (still below your frames)
Get your magic wand and select the inside of one of the frames
Selections - expand - 6
Invert, select your paper layer and press the delete key
Select none.
Do the same with different papers from the kit
Each time a different frame
Open your main tube
Resize it by 65%
Copy and paste as new layer
Move it to your top layer
Drag it down some from the center
Open Bow1
Resize by 65%, then by 80%
Copy and paste as new layer
Move it to your top left frame
Duplicate, mirror and flip
Open flower clip 1
Resize by 50%
Copy and paste as new layer
Free rotate, 90 degrees right
Move to the top right frame
Open flower clip 2
Resize by 50%
Copy and paste as new layer
Free rotate 90 degrees left
and move it to the bottom left frame
Click on your white background layer
Open flower 1
Copy and paste as new layer
Open flower 2
Copy and paste as new layer
Free rotate 45% right
Layers - merge - merge down (only your two flowers)
Adjust - blur - gaussian blur 10
Johann's Filters - Chaos Dissolve - default setting
close off all layers above your frame layer
Click on your mask layer and select your preset heart shape (included in supplies)
Convert to raster layer
Image free rotate left 10%
Duplicate - mirror - Merge down
Duplicate and move to your bottom frames
Make sure they are behind your paper
Select all - float - defloat
Selections - modify - select selection borders
1 - both sides - antialias
Click on your paper layer and duplicate this x2 for a total of three layers
Xenofex 2 Constellation with these settings
Star size 3.49
Size variation 12
Edge Star density 6
Overall Star density 3
Overdrive 100
Twinkle Amount 100
Twinkle rotation 45
Keep original image
Move to the next layer and repeat the settings,
but this time hit the random seed button
and do the same to the next layer
Delete your preset heart layer
Merge your bottom three layers (white bg, flower layer and mask)
Duplicate that x2 (total of three layers)
Pull each layer up underneath your constellation layer
It should look like this
Now merge each one down, see my screenshot
Close off your layers you just merged
Unhide all the other layers
Add drop shadows (2, 2, 35, 3, black)
Merge visible
Add your copyright information and text
Unhide all layers
Duplicate your top layer x2
Arrange them like we did before
But this time on top of the heart layers
Merge the main tube layer down on each
Now you should have 3 layers total.
Save as a psp animation file.
Open up animation shop
Open up your image you just saved
File - optimization wizard
Next - customize
255 colors
Optimized Octree
Error Diffusion
OK
Next
Next
Next
Finished
Save and your done
I hope you enjoyed my tutorial.