Showing posts with label Dazzling Scraps. Show all posts

Monday, March 14, 2011

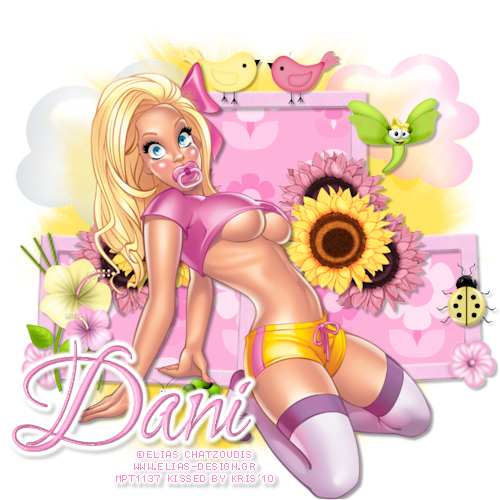
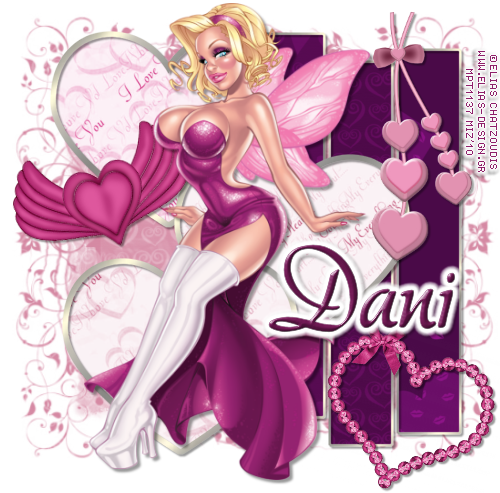
Fabulous


ARTWORK: Artist © Elias Chatzoudis
In order to use the image in this tutorial you MUST purchase it from PTE

SCRAPKIT: Easter Dreams by Dani of Scraps by Danielle

TEMPLATE: Vix_Template32

FONT: AR ESSENCE

Okay lets begin

Open your template
CTRL-D to duplicate
Close the original
Delete the copyright layer

Select your bottom layer
Open your paper of choice
Edit - copy
Close the paper
Select all, float, defloat
New raster layer
Paste into selection
Delete the original layer

do the same with the rest of the layers.

The elements I used for tag are listed below
Resize them appropriately, usually about 50%
Just Copy and paste them as a new layer
See my tag for placement
Add drop shadows

Butterfly
Button
Gerber Daisy
Flower Decoration

Add your tube
Get your square selection tool
Copy part of your tube
Paste as new layer
place behind left frame
Change blend mode to Luminance (L)
Duplicate and mirror
Adjust under your other frame
Add your copyright and text
Merge visible and your done


Wednesday, November 24, 2010

Let It Snow


ARTIST: Artwork © Keith Garvey.
In order to use the image in this tutorial you MUST purchase it from MPT

SCRAPKIT: Winter Dreams by Dani of Scraps by Danielle

TEMPLATE: Linda_CM_template 37

FONT: NevilleScript

Okay lets begin

Open your template
CTRL-D to duplicate
Close the original
Delete the copyright layer

Select your bottom layer
Open your paper of choice
Edit - copy
Close the paper
Select all, float, defloat
New raster layer
Paste into selection
Delete the original layer

do the same with the rest of the layers.

The elements I used for tag are listed below
Resize them appropriately, usually about 50%
Just Copy and paste them as a new layer
See my tag for placement
Add drop shadows

SnowFlake 5
SnowFlake 3
SnowFlake 2
Christmas Tree with star 2
Star 1
Christmas Ball 2
Christmas Ball 1
Christmas Ball 3
Snowman with Snow balls

Add your tube
Add your copyright and text
Merge visible and your done



Wednesday, April 7, 2010

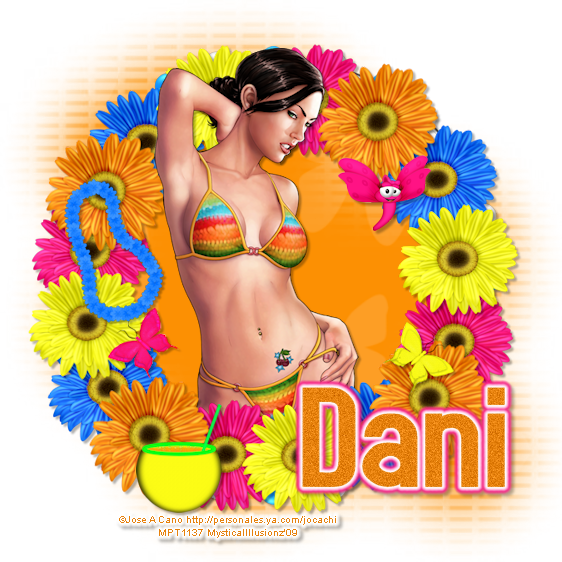
Secret Garden


ARTWORK: Artist © Elias Chatzoudis
In order to use the image in this tutorial you MUST purchase it from MPT

SCRAPKIT: Secret Garden by Dani of Dazzling Scraps

MASK: WSL_Mask241

Okay lets begin

New image 600 x 600

Open Paper 11
Copy and close
New raster layer
Select all
Paste into selection
Apply your mask
Merge group

Open Frame wtih Flowers in Center 2
Copy and close
Paste as new layer
Resize by 175%
Get your magic wand and select the inside of the frame
Expand by 5
Open Paper 7
Copy and close
Paste into selection

The elements I used for tag are listed below
Resize them appropriately, usually about 50%
Just Copy and paste them as a new layer
See my tag for placement
Add drop shadows

Bird 2
Bird 4
Cloud 1
Cloud 2
Dragonfly 2
Earth Worm 3
Sunflower 1
Sunflower 2
Gerber Daisy 2
Gerber Daisy 3
Lady Bug 1

Add your tube
Add your copyright and text
Merge visible and your done
Tuesday, January 5, 2010

All You Need Is Love


ARTWORK: Artist © Elias Chatzoudis
In order to use the image in this tutorial you MUST purchase it from MPT

SCRAPKIT: All You Need Is Love by Dani of Dazzling Scraps

TUTORIAL: HERE

Thursday, December 24, 2009

Blue X-Mas


ARTWORK: Artist © Elias Chatzoudis
In order to use the image in this tutorial you MUST purchase it from MPT

SCRAPKIT: Blue Christmas by Dani

TUTORIAL: HERE

Sunday, November 15, 2009

Bright Me Out


ARTIST: Artwork © Jose A Cano.
In order to use the image in this tutorial you MUST purchase it from MPT

SCRAPKIT: Bright Me Out by Dani

TUTORIAL: HERE

Monday, November 9, 2009

For Santa


ARTIST: Artwork © Keith Garvey.
In order to use the image in this tutorial you MUST purchase it from MPT

SCRAPKIT: When Christmas Comes to Town by Dani

TUTORIAL: HERE


Saturday, November 7, 2009

Let it Snow


ARTIST: Artwork © Ismael Rac.
In order to use the image in this tutorial you MUST purchase it from AMI

SCRAPKIT: Let it Snow by Dani

Template: #75 by Dezigns by Ali

PLUGIN: Eye Candy - Gradient Glow

TUTORIAL: HERE


Tuesday, October 13, 2009

Autumn Dreams


ARTWORK: Artist © Jose Cano.
In order to use the image in this tutorial you MUST purchase it from MPT

SCRAPKIT: Autumn Dreams by Bastelgalaxy

MASK: Of choice

Okay lets begin...

New image 600 x 550

Open paper 23
Copy and close
New raster layer
Select all
Paste into selection
Apply your mask

Open frame 4
Resize with your largest side 450 px
Copy and close
Paste as new layer

Adjust your mask so it fits exactly under your frame

Next step will go for all your elements.

Open your element
Resize with the largest between 250-300 px
Copy and close
Paste as new layer
See my tag for placement

Open your tube
Copy and close
Paste as new layer
Duplicate the layer and drag it beneath the frame
Select the top tube layer and delete the bottom part touching the frame
Add drop shadow to your BOTTOM layer

Add your text and copyright
Merge visible and your done. :-)

Drop Shadow 2, 2, 30, 3, black

Font used: Sweetheart Script

Frozen in Time


ARTWORK: © Myka Jelina
In order to use the image in this tutorial you MUST purchase it from CILM

SCRAPKIT: Frozen in Time by Jen's Sweet Temptations

MASK: Of choice

Ok lets begin..

New Image 500 x 500 px

Open paper 1
Copy and close
New raster layer
Select all
Paste into selection
Apply your mask

Open bling 1
Copy and close
Move to the bottom of the tag
Image - Duplicate
Image - Flip
Merge down

Open frame 3
Resize with your largest side being 450
Copy and close
Paste as new layer
Add drop shadow
2, 2, 30, 3, black

Add your flowers and heart elements
Add drop shadows to them
Same settings as above.

Add your tube
Add drop shadow

Add text and copyright
Merge visible and your done :-)


Wednesday, October 7, 2009

Emotions


SUPPLIES:

Artist © Elias Chatzoudis.
In order to use the image in this tutorial you MUST purchase it from MPT

SCRAPKIT: Emotions in Deep Pink by Bastelgalaxy

MASK: Of choice

New image 600 x 500

Open paper 6
Copy and close
Select all
New raster layer
Paste into selection
Apply mask of choice

Open frame 2
Resize by 50%
Copy and close
Paste as new layer
Move to the left
Image - duplicate
Image - mirror

Add your ribbon
Copy and close
Paste as new layer
See my tag for position

Open your jewel
Copy and close
Paste as new layer
See my tag for position
Image duplicate
Image mirror

Add your bow
Copy and close
Paste as new layer
See my tag for position
Image duplicate
Image mirror

Open your tube
Copy and close
Paste as new layer
See my tag for placement

Add drop shadows to all your layers
2, 2, 40, 3, black

Add copyright and text
Merge visible and your done :-)