
By Lilli

ARTIST: Artwork © Keith Garvey.
In order to use the image in this tutorial you MUST purchase it from MPT
SCRAPKIT: Jailhouse Rock by Gina of KiKeKa Kits
Okay lets begin
New image 600 x 600
Open cbg_jailhouserock_frame04
Copy and close
Paste as new layer
Get your magic wand
Select the insides of the frames
Open cbg_jailhouserock_paper04
copy and close
New raster layer
Paste into selection
Move beneath your frame
The elements I used for tag are listed below
Resize them appropriately, usually about 50%
Just Copy and paste them as a new layer
See my tag for placement
Add drop shadows
cbg_jailhouserock_cuff01
cbg_jailhouserock_badge
cbg_jailhouserock_batons
cbg_jailhouserock_bow03
cbg_jailhouserock_spill01
cbg_jailhouserock_bars
cbg_jailhouserock_flower02
cbg_jailhouserock_flower01
Add your tube
Add your copyright and text
Merge visible and your done

ARTWORK: Artist © Elias Chatzoudis
In order to use the image in this tutorial you MUST purchase it from MPT
SCRAPKIT: Pink Ribbons by Nikki of Creative Intentionz
MASK: Of choice
Okay lets begin
New image 600 x 600
Open CIZ-PinkRibbon-Paper9
Copy and close
New raster layer
Select all
Paste into selection
Apply your mask
Merge group
Open CIZ-PinkRibbon-Frame3
Copy and close
Paste as new layer
Add drop shadow
The elements I used for tag are listed below
Resize them appropriately, usually about 50%
Just Copy and paste them as a new layer
See my tag for placement
Add drop shadows
CIZ-PinkRibbon-AwarenessRibbon2
CIZ-PinkRibbon-Bird
CIZ-PinkRibbon-Brad4
CIZ-PinkRibbon-ButtonRibbon1
CIZ-PinkRibbon-CallaLilies1
Add your tube
Add your copyright and text
Merge visible and your done

ARTIST: Artwork © Jennifer Jankeso.
In order to use the image in this tutorial you MUST purchase it from CILM
SCRAPKIT: Here Comes the Bride by Stacey's Designs
MASK: Of choice
New image 600 x 500
Open SD Paper 7
Copy and close
New raster layer
Select all
Paste into selection
Apply your mask
Merge group
Open SD Frame 3
Copy and close
Paste as new layer
Get your magic wand
Select the insides of the frame
New raster layer
Open SD Paper 11
Copy and close
paste into selection
Move layer beneath the frame
Add a light drop shadow to the frame
The elements I used for tag are listed below
Resize them appropriately, usually about 50%
Just Copy and paste them as a new layer
See my tag for placement
Add drop shadows
SD Bouquet
SD Black Hat
SD White Shoes
Add your tube
Get your square selection tool
Select the head of your tube
Copy and paste as new layer
Move beneath your frame
Change your blend mode to Luminance
Duplicate
Mirror
Add light drop shadows to all layers
Add your copyright and text
Merge visible and your done

ARTWORK: Artist © Elias Chatzoudis
In order to use the image in this tutorial you MUST purchase it from MPT
SCRAPKIT: Julia's June by Jane of JTs Designs
TEMPLATE: Template #144 by Denz Designz
Okay, lets being...
Open your template
Ctrl+D to duplicate
Delete the copyright layer
Activate the bottom layer
Open your paper of choice
Copy and close
New raster layer
Paste into selection
Delete the original gray layer
Do the same with the rest of the layers
The papers I used are listed below.
JTD_JJ_Paper7
JTD_JJ_Paper6
JTD_JJ_Paper4
JTD_JJ_Paper10
JTD_JJ_Paper14
JTD_JJ_Paper8
JTD_JJ_Paper13
Add a light white gradient glow to your bottom two layers
Add a drop shadow to all your layers 2, 2, 40, 2, black
The elements I used for tag are listed below
Resize them appropriately, usually about 50%
Just Copy and paste them as a new layer
See my tag for placement
Add drop shadows
JTD_JJ_Flower4
JTD_JJ_Flower3
JTD_JJ_Heart1
JTD_JJ_Heart2
JTD_JJ_Heart3
Add your tube and add a light drop shadow
When you are done
Add your copyright and text
Merge visible and your done

SCRAPKIT: Chocolate Dreams Kit by Nikki of Creative Intentionz
MASK: Of Choice
Okay lets begin
New image 600 x 600
Open CIZ-ChocolateDreams-Paper6
Copy and close
New raster layer
Select all
Paste into selection
Apply your mask
Merge group
Open CIZ-ChocolateDreams-Frame3
Copy and close
Paste as new layer
Add drop shadow
Get your magic wand and select the inside of the frames
New raster layer
Open CIZ-ChocolateDreams-Paper11
Paste into selection
Move your layer beneath your frame
To achieve the look I did for the cookies
Place them under your frame
Change your blend mode to luminance
Get your brush and hold down ctrl key and select a brown from your tag
Active the paper layer and just color under the eyes and hat to make it brownish
The elements I used for tag are listed below
Resize them appropriately, usually about 50%
Just Copy and paste them as a new layer
See my tag for placement
Add drop shadows
CIZ-ChocolateDreams-BowWithTag2
CIZ-ChocolateDreams-Cookie1
CIZ-ChocolateDreams-Cookie2
CIZ-ChocolateDreams-Cookie3
CIZ-ChocolateDreams-Doodle2
CIZ-ChocolateDreams-HeartCharm
CIZ-ChocolateDreams-OrganzaFlower3
Add your copyright and text
Merge visible and your done

ARTWORK: Artist © PinupToons
In order to use the image in this tutorial you MUST purchase it from CILM (This particular tube is a bonus tube and not available for purchase but any tube will do just fine)
SCRAPKIT: WSL_Mask253
WORDART: Posted at the end of the tutorial, just right click to save to your computer and use.
Okay lets begin
New image 600 x 600
Open sweetcherrypaperpink3
Copy and close
New raster layer
Select all
Paste into selection
Apply your mask
Merge group
Open sweetcherrypinkframebutton
Copy and close
Paste as new layer
The elements I used for tag are listed below
Resize them appropriately, usually about 50%
Just Copy and paste them as a new layer
See my tag for placement
Add drop shadows
sweetcherrypinksunflower
sweetcherrypinksunflower2
sweetcherrypinkbag
sweetcherrypinkbutterfly3
sweetcherrypinkflowers
sweetcherrypinkcherry
Add your tube
Add your copyright and text
Merge visible and your done


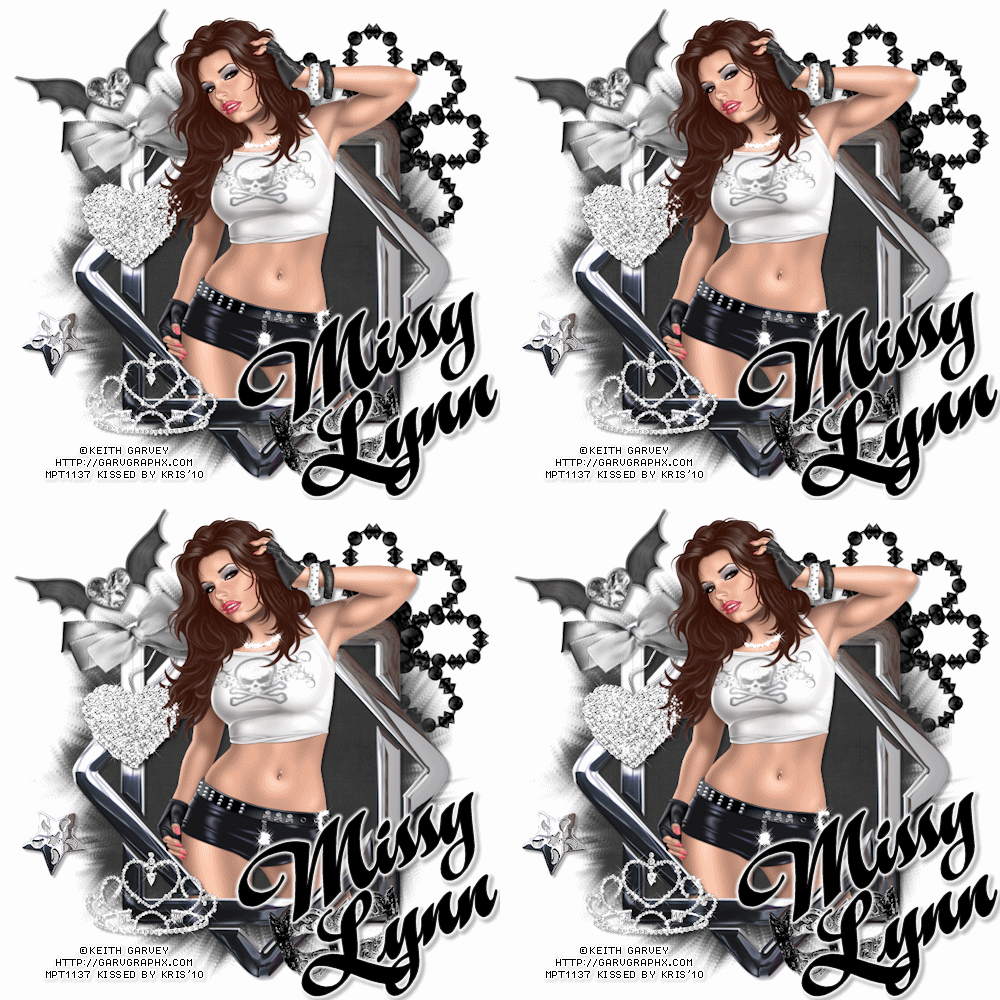
ARTIST: Artwork © Keith Garvey.
In order to use the image in this tutorial you MUST purchase it from MPT
SCRAPKIT: Evil Virgin by Immortal Dreams
MASK: WSL_Mask241
Okay lets begin
New image 600 x 600
Open paper ID-EV-Paper 3
Copy and close
New raster layer
Select all
Paste into selection
Apply your mask
Merge group
Open ID-EV-Frame 9
Copy and close
Paste as new layer
The elements I used for tag are listed below
Resize them appropriately, usually about 50%
Just Copy and paste them as a new layer
See my tag for placement
Add drop shadows
ID-EV-Bow 8
ID-EV-Flower 10
ID-EV-Heart Wings
ID-EV-Heart
ID-EV-Mask
ID-EV-Star
ID-EV-Tiara
Add your tube and add a light drop shadow
When you are done
Add your copyright and text
Merge visible and your done
To animate see below:
Get your magic wand
Select the parts you want to sparkle
Effects - Plugins - Xerofex - Constellation
Use the following settings

Press OK when done
Copy merged
Open Aniamtion shop
Right click
Paste as new animation
Go back to PSP
Undo your constellation
and redo it
this time press random
Copy merged, pasted after current frame and so on
Save as GIF and your done.


