Showing posts with label Designed By Stina. Show all posts

Thursday, June 23, 2011

Saturday, June 11, 2011

Monday, March 14, 2011

Spring into Easter Layout


Spring into Easter by Stina

GET THE BLANK HERE


Spring Into Easter


ARTWORK: Artist © PinupToons
In order to use the image in this tutorial you MUST purchase it from CDO

SCRAPKIT: Spring into Easter by ::Designed by Stina::

MASK: WSL_Mask17

FONT: AR DELANEY

Okay lets begin

New image 600 x 600

Open DBS_Paper24
Copy and close
New raster layer
Select all
Paste into selection
Apply your mask
Merge group

Open DBS_Frame03
Copy and close
Paste as new layer

The elements I used for tag are listed below
Resize them appropriately, usually about 60-80%
Just Copy and paste them as a new layer
See my tag for placement
Add drop shadows

DBS_Frame08
DBS_Wreath
DBS_Eggs_Flowers03
DBS_Deco01
DBS_Eggs_Flowers04
DBS_Bunny01
DBS_Eggs03
DBS_Flower02
DBS_Flower05
DBS_Flower01
DBS_Spring01
DBS_Fence01
DBS_Eggs08

When you are done
Add your copyright and text
Merge visible and your done


Friday, February 25, 2011

Wish Me Luck


COOKIE: ©Medi (Included in scrapkit)

SCRAPKIT: Wish Me Luck by ::Designed by Stina::

MASK: WSL_Mask344

FONT: P22 Ruthie

Okay lets begin

New image 600 x 600

Open DBS_Paper05
Copy and close
New raster layer
Select all
Paste into selection
Apply your mask
Merge group

Open DBS_Frame03
Resize by 80%
Copy and close
Paste as new layer
Free rotate 15% right

Get your magic wand and select the insides of the frames
Expand by 5
Open DBS_Paper04
Copy and close
New raster layer
Paste into selection
move beneath your frame

The elements I used for tag are listed below
Resize them appropriately, usually about 60-80%
Just Copy and paste them as a new layer
See my tag for placement
Add drop shadows

DBS_Bow04
DBS_medi_feeona2
DBS_Coin03
DBS_Coin01
DBS_Coin02
DBS_Rainbow
DBS_PotOGold
DBS_ShamrockShower02

When you are done
Add your copyright and text
Merge visible and your done

Tuesday, December 8, 2009

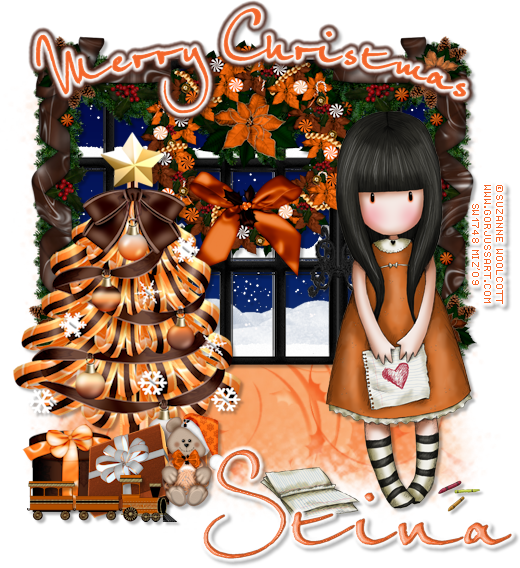
Jaffalicious


ARTIST: Artwork © Suzanne Woolcott.
In order to use the image in this tutorial you MUST purchase it from HER

SCRAPKIT: Jaffalicious by Designed by Stina

TUTORIAL: HERE

Monday, November 23, 2009

Pinkalicious Christmas


ARTIST: Artwork © Jennifer Janesko.
In order to use the image in this tutorial you MUST purchase it from CILM

SCRAPKIT: Pinkalicious Christmas by Designed by Stina

TUTORIAL: HERE

Wednesday, October 7, 2009

Love, Faith and Hope


SUPPLIES:

Artist © PinupToons.
In order to use the image in this tutorial you MUST purchase it from CILM

SCRAPKIT: Love, Faith and Hope by Designed by Stina

TEMPLATE: #40 by Missy

Open your template
CTRL D to duplicate
Close the original
Delete your copyright layer

Select your larger circle layer
Select all - float -defloat
New raster layer
Open paper 1
Copy and close
Paste into selection
Delete your gray layer

Do the rest of the rest of the layers using the following papers
small circle = paper 10
larger heart = paper 26
smaller heart = paper 5
dotted line heart = paper 6
small hearts = paper 30

Start with the bottom layer and add a gradient glow to each layer
Alien skin - gradient glow the following settings
Use yellow for the pink layers and pink for the yellow layers
yellow = #fff62
pink - #ff61ff

Image and video hosting by TinyPic

Add drop shadows to all layers
3, 3, 30, 3, black

Open your tube
Resize by 84%
Copy and close
Paste as new layer
Add drop shadow, same as before

Open the butterfly and resize by about 50% or so
Copy and close
Paste as new layer
See my tag for placement

Open your wordart
Resize about 50%
Copy and close
Paste as new layer
Apply the pink gradient glow and a drop shadow to it

Duplicate your back pink circle
Apply mosiac glass with the following settings

Image and video hosting by TinyPic

Add your copyright and text
Merge visible and your done :-)
Sunday, September 27, 2009

A Lil Witch O Gold

Image and video hosting by TinyPic

SCRAPKIT: A Lil Witch O Gold by Designed by Stina

MASK: Of choice

New Image 500 x 500
Open Paper of choice
Copy and close
New raster layer
Select all
Paste into selection
Apply mask of choice
Merge group

Open Frame of choice
Resize as needed
Copy and close
Paste as new layer

Open the pumpkin
Copy and paste as new layer
Place under the frame
Lower opacity to 50%

Add tube and elements of choice

Add copyright and text

Add drop shadows to all layers except mask

Merge visible and your done.